Welcome 2017!
After a lovely Christmas break and a few days at the beach, I decided to come back to the last E-learning Heroes challenge of 2016: Add a Little Greenery to Your Next Course with Pantone’s Color of the Year.
Last year for the Pantone challenge I combined the three most recent Pantone Color of the Year winners into one demo. You can see that one here.
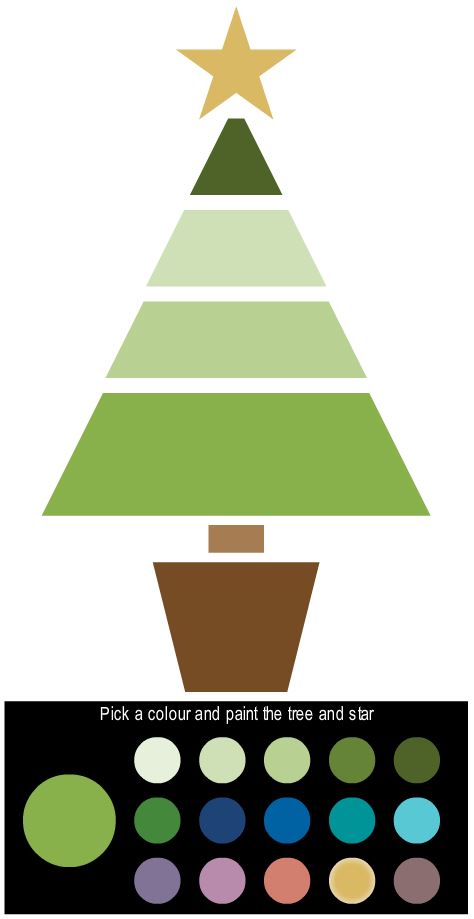
This year’s demo is simple: use Greenery, the 2016 Pantone Color of the Year winner, with other colours to customise a Christmas tree.
I used a couple of the colour schemes provided by Pantone to create a simple Christmas tree. Choose a colour from the options at the bottom and click each section of the tree and the star to customise your tree!
Under the hood
To build this in Storyline 360:
- Create the first colour swatch (the coloured circles). I made Greenery bigger than the others in this example.
- Add a Hover and a Selected state to the swatch. In this example, the Hover and Selected states are visually identical—I used an inner shadow.
- Now that you have created the states, duplicate the swatch and change its size if you wish. Then, duplicate it again as many times as colours you’d like to add.
- Change each swatch to the desired colour. Make sure the swatches, or circles, are clearly labelled on the timeline.
- Select all the colour swatches on the slide (or in the timeline) and right-click to create a Button Set. This way, you can select colours one at a time.
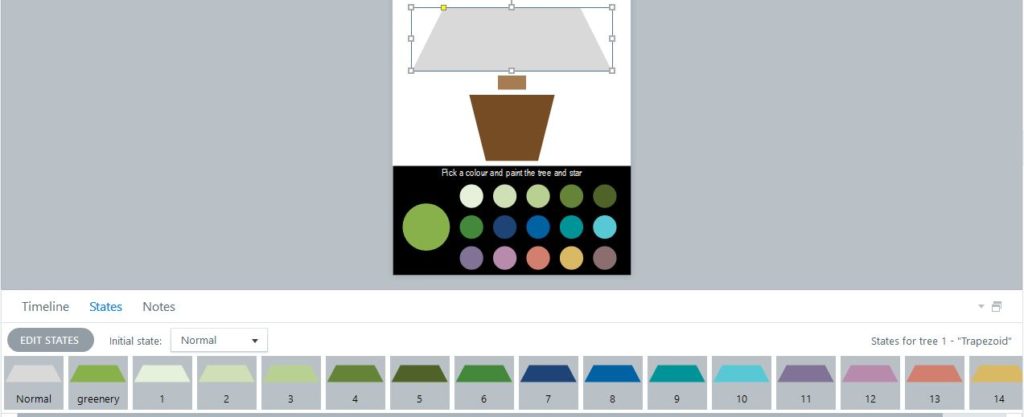
- Now, use a Storyline shape to create the first part of the tree. I used a trapezoid shape.
- Create as many states for that tree part as there are colour swatches. Each state should be the shape filled with one of the colour swatches. This is the most time consuming part, yet it will only take a few minutes.
- Now, create triggers: Change state of [Tree Part 1] to [Greenery] when user clicks [Tree Part 1] on the condition that [Greenery] is equal to Selected. In this example, [Tree Part 1] is my tree part and [Greenery] is my first colour swatch.
- Copy and paste the trigger above as many times as colur swatches you have. You’ll need to change the two parts of the trigger above that are in bold to the correct state (or colour) for the tree part and the correct colour swatch.
- Now you can duplicate the tree shape and re-size for however many tree parts you want. In this case, I made 4 tree parts.
- Duplicate the tree part one more time, then go to Change Shape in the FORMAT tab and select the Star shape. This ensures that all the states you created for the first tree part remain in the new tree parts and the star, as well as the triggers.
- Done!
To check out the live version, click Play below.

So, what else could you use this technique for? Let me know your ideas in the comments.
Be First to Comment